


Getting started with OKDP, the Open Kubernetes Data Platform

By Joe AZEROF
Sep 10, 2026
- Categories
- Infrastructure
- Tags
- PySpark
- Jupyter
- Keycloak
- Kubernetes
- OKDP
Never miss our publications about Open Source, big data and distributed systems, low frequency of one email every two months.
The Open Kubernetes Data Platform (OKDP) is a cloud-native data management platform covering the complete data lifecycle. It integrates best-in-class open source tools including Apache Spark and Apache Trino as data processing engines, Apache Superset for dashboarding, and tools like Apache Airflow for job scheduling. Currently in active development, release 1.0.0 is planned september 14th 2026. Modular by design, OKDP aims to streamline every stage of the data journey.
A presentation of OKDP, the Open Kubernetes Data Plaform presents a high level overview of the OKDP project. This guide explores some of the features of the platform by launching a local cluster with the OKDP sandbox. Including a UI for platform management and a full suite of data tools, the sandbox provides a showcase environment for exploring the potential of the OKDP project.
Prerequisites
The host machine needs to meet a few requirements prior to getting started.
Initial setup
Getting started with the OKDP platform is incredibly straightforward. Complete cluster provisioning and core component installation finish in under 30 minutes for immediate data exploration with Spark and Trino.
Bootstrap the cluster and install basic components
After ensuring the host machine meets the prerequisite requirements the installation process is started by cloning the repository locally.
git clone https://github.com/OKDP/okdp-sandbox.git
cd okdp-sandbox
The sandbox is launched using kind, a tool for testing Kubernetes locally using Docker containers. A temporary kind configuration file is created and then passed to the kind create cluster command to start the cluster.
# Create cluster configuration
cat > /tmp/okdp-sandbox-config.yaml <<EOF
kind: Cluster
apiVersion: kind.x-k8s.io/v1alpha4
name: okdp-sandbox
nodes:
- role: control-plane
  extraPortMappings:
  - containerPort: 30080
    hostPort: 80
  - containerPort: 30443
    hostPort: 443
  - containerPort: 30053
    hostPort: 30053
    protocol: UDP
EOF
# Create the cluster
kind create cluster --config /tmp/okdp-sandbox-config.yaml
Flux is the GitOps tool utilized by the sandbox. It is installed into the cluster using the flux CLI.
# Install Flux
flux install
The sandbox environment uses KuboCD, it extends Flux and Helm to simplify how platform components are deployed and managed. KuboCD lets users define a desired state declaratively using a set of custom resources. One of the most important resource is the Context, a YAML object that holds shared configuration values, like ingress suffixes and authentication settings, that apply across multiple deployments.
The KuboCD extension is loaded into the cluster via kubectl apply, then verified with a series of wait commands before proceeding.
# Install KuboCD
kubectl apply -f clusters/sandbox/flux/kubocd.yaml
# Wait for the CRDs to be available
kubectl wait --for=condition=Established --timeout=300s \
  crd/contexts.kubocd.kubotal.io \
  crd/releases.kubocd.kubotal.io \
  crd/configs.kubocd.kubotal.io \
  crd/clustercontracts.kubocd.kubotal.io \
  crd/connections.kubocd.kubotal.io
# Wait for KuboCD controller to be ready
kubectl -n kubocd wait \
  --for=condition=Available deploy/kubocd-ctrl-controller --timeout=300s
# Wait for the chart to finish installing
kubectl -n flux-system wait \
  --for=condition=Ready helmrelease/kubocd-controller --timeout=300s
The metrics-server is installed to help monitor cluster resources.
kubectl apply -f https://github.com/kubernetes-sigs/metrics-server/releases/latest/download/components.yaml
kubectl patch deployment metrics-server -n kube-system --type=json \
  -p='[{"op": "add", "path": "/spec/template/spec/containers/0/args/-", "value": "--kubelet-insecure-tls"},
       {"op": "replace", "path": "/spec/template/spec/containers/0/livenessProbe/timeoutSeconds", "value": 3},
       {"op": "replace", "path": "/spec/template/spec/containers/0/readinessProbe/timeoutSeconds", "value": 3}]'
# Wait for the pod update to apply
kubectl -n kube-system rollout status deploy/metrics-server --timeout=300s
# Wait for the api to become available
kubectl wait --for=condition=Available apiservice/v1beta1.metrics.k8s.io --timeout=300s
# Verify server is running by checking node metrics
kubectl top nodes
#> NAME                         CPU(cores)   CPU(%)   MEMORY(bytes)   MEMORY(%)
#> okdp-sandbox-control-plane   428m         2%       14489Mi         15%
The cluster is bootstrapped with basic components like Keycloak for identity and access management and CloudNativePG for the PostgreSQL controller.
# Load the default context
kubectl apply -f clusters/sandbox/contracts/
kubectl apply --server-side -f clusters/sandbox/contexts/
# Deploy basic components
kubectl apply -f clusters/sandbox/releases/
The deployment of system components normally takes 10 to 15 minutes. There are two options for monitoring the system components install progress. The --watch command provides updates about the install in terminal but requires a manual exit after all components are in the ready state. Alternatively, the wait command does not provide status information but does not require a manual exit.
kubectl get releases -A --watch
# Alternative:
# kubectl wait --for=jsonpath='{.status.phase}'=READY release --all -n kubocd-system --timeout=900s
DNS configuration
Multiple DNS configuration options exist, including deploying a local server or manually editing the /etc/hosts file. This guide uses the recommended local DNS server configuration to automatically handle resolution for all services. See the dns configuration document for additional DNS options, and instructions on manual /etc/hosts configuration.
A resolved.conf.d directory is created in the case that it does not exist. After, a configuration file is created in a temporary location and then moved to the system directory. Finally, systemd-resolved is restarted to load the new configuration.
sudo mkdir -p /etc/systemd/resolved.conf.d
cat <<INI | sudo tee /etc/systemd/resolved.conf.d/okdp-sandbox.conf
[Resolve]
DNS=127.0.0.1:30053
Domains=~okdp.sandbox
INI
sudo systemctl restart systemd-resolved
After restarting systemd-resolved service, run a dig and nslookup to ensure the settings took effect.
# Test with dig
dig @127.0.0.1 -p 30053 okdp-ui.okdp.sandbox

# Test DNS resolution
nslookup -port=30053 okdp-ui.okdp.sandbox 127.0.0.1
# Should resolve to 127.0.0.1
SSL configuration
The sandbox uses a self-signed certificate authority. Upon the first connection attempt, the browser displays a certificate error. Users must either import the CA into the browser or bypass the error screen. Choosing to ignore the security warnings requires logging in to Keycloak and accepting the certificate to ensure OKDP services communicate properly.
Steps for importing the certificate shown for Firefox
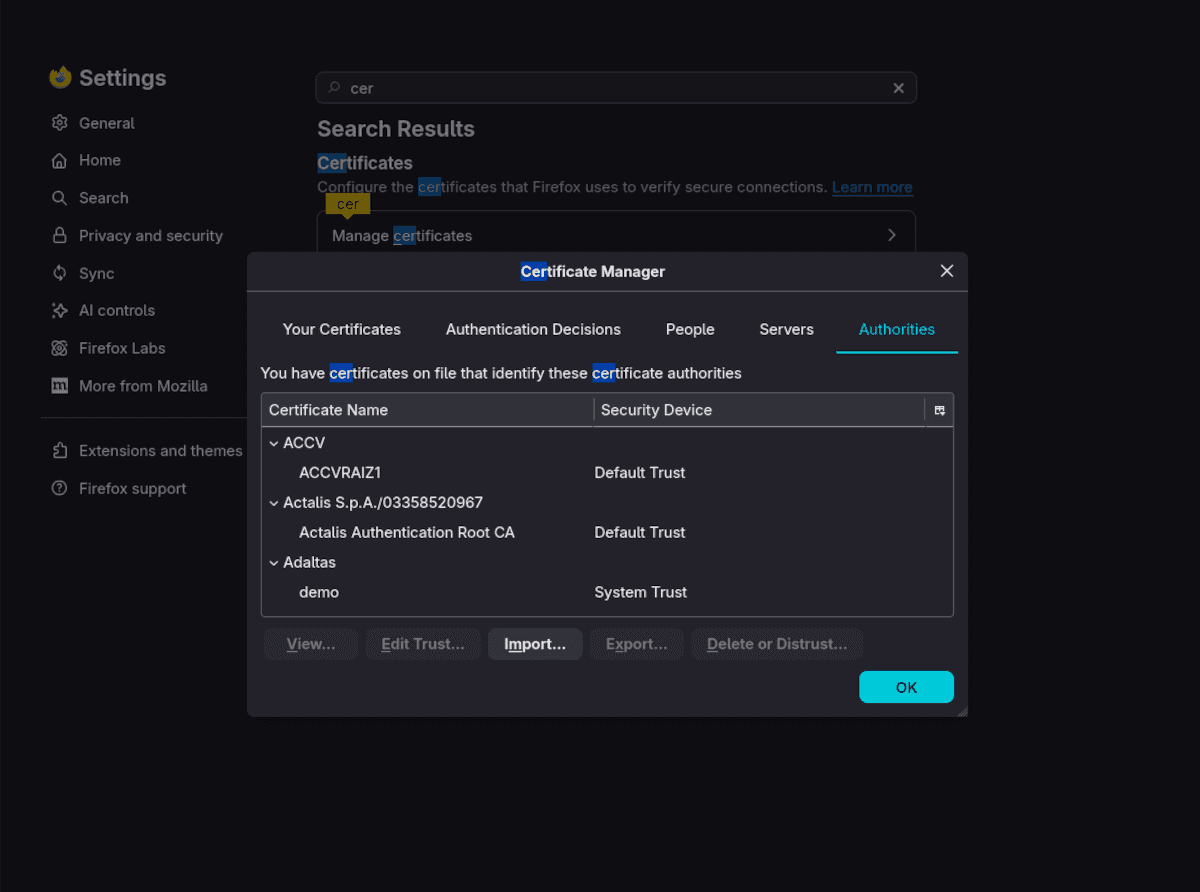
In order to get rid of the need to manually trust the CA, Firefox needs to be set to trust the OKDP certificate authority. First, use the kubectl get secret command to obtain the certificate authority public .crt from the cluster.
kubectl get secret default-issuer -n cert-manager -o jsonpath='{.data.ca\.crt}' | base64 -d > okdp-sandbox-ca.crtOpen a new browser tab or window and navigate to about:preferences and search for certificates. Selecting the manage certificates option will open a new window. Choose the import option, navigate to the certificate obtained earlier. A new dialog box is opened, select the trust levels and save.
Initial login with Keycloak
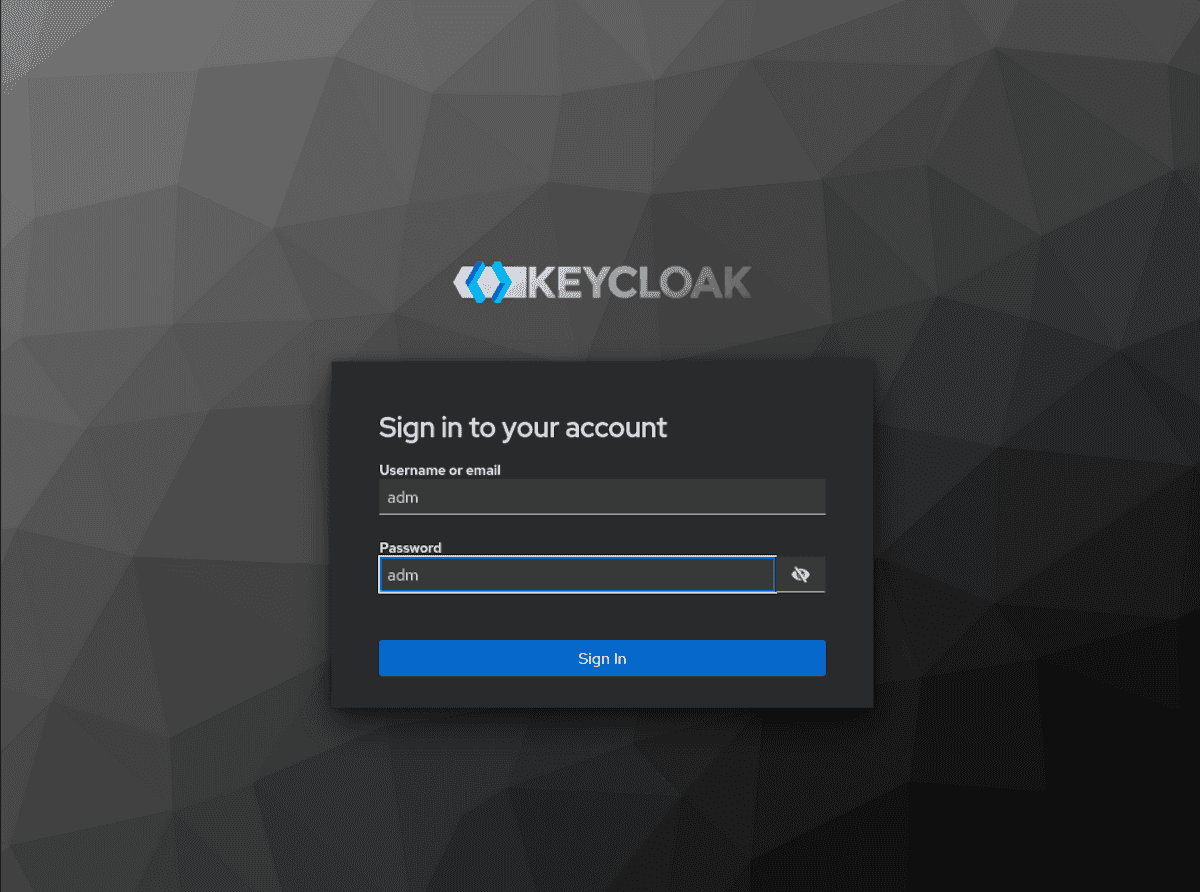
Navigating to the UI for the first time, launches a login prompt. Selecting the login option redirects users to the Keycloak login screen. The admin user has been preconfigured as username: adm and password: adm.
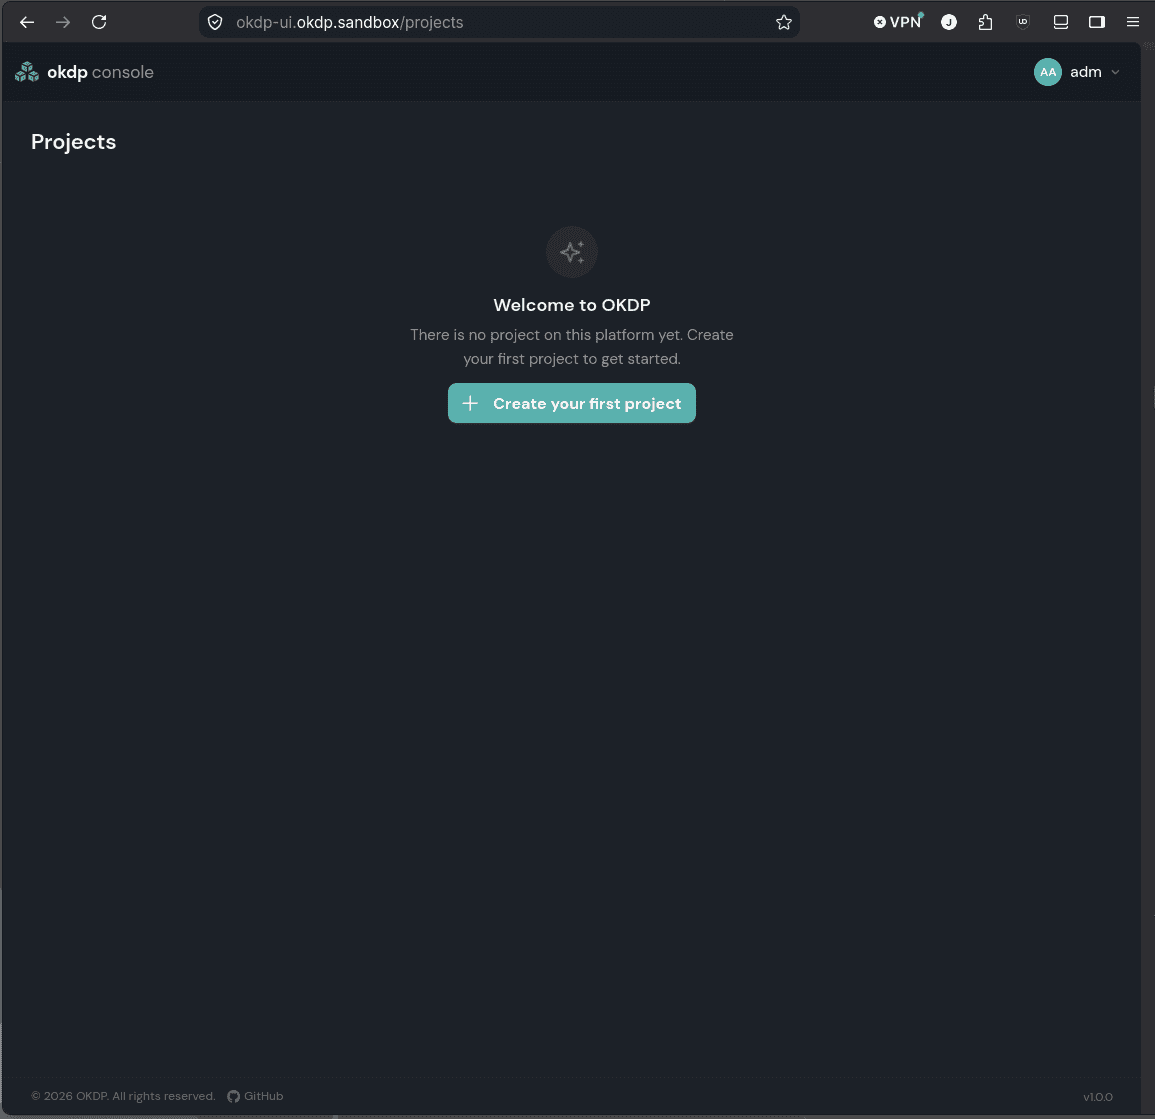
After successfully authenticating, users are redirected to the OKDP sandbox UI.
Deploying a demo project
In OKDP, a project consists of a namespace along with its secrets, PostgreSQL instances, connections, and data services. While OKDP admins are able to manage projects and their components directly via the UI, the sandbox provides configuration files for quickly provisioning a project via kubectl apply.
# Install the SeaweedFS object store from the optional sandbox components
kubectl apply -f clusters/sandbox/optional/storage/storage.yaml
kubectl -n kubocd-system wait --for=jsonpath='{.status.phase}'=READY release/storage --timeout=10m
# Install the demo data stack
kubectl apply -f clusters/sandbox/project-demo/00-namespace.yaml
kubectl apply -f clusters/sandbox/project-demo/10-secrets.yaml
kubectl -n demo wait --for=jsonpath='{.status.phase}'=READY release/demo-secrets --timeout=5m
kubectl apply -f clusters/sandbox/project-demo/20-storage-demo.yaml
kubectl -n kubocd-system wait --for=jsonpath='{.status.phase}'=READY release/storage --timeout=10m
kubectl apply -f clusters/sandbox/project-demo/30-postgres.yaml
kubectl -n demo wait --for=condition=Ready cluster/demo-pg --timeout=10m
kubectl -n demo wait --for=jsonpath='{.status.applied}'=true \
        database/demo-pg-hive database/demo-pg-superset database/demo-pg-superset-examples database/demo-pg-polaris database/demo-pg-airflow \
        --timeout=10m
kubectl apply -f clusters/sandbox/project-demo/40-connections.yaml
kubectl -n demo wait --for=jsonpath='{.status.phase}'=READY \
         connection/demo-db-hive connection/demo-db-superset connection/demo-db-superset-examples connection/demo-db-polaris connection/demo-db-airflow connection/demo-storage \
        --timeout=10m
kubectl apply -f clusters/sandbox/project-demo/50-services.yaml
kubectl -n demo wait --for=jsonpath='{.status.phase}'=READY release -l okdp.io/project=demo --timeout=30m
kubectl apply -f clusters/sandbox/project-demo/60-polaris-catalog-job.yaml
kubectl -n demo wait --for=condition=complete job/demo-polaris-catalog --timeout=10m
Deploying the demo project provisions the Airflow, Hive Metastore, JupyterHub, Polaris, Spark History Server, Superset, and Trino data services within the OKDP cluster. Once deployed, the UI provides a dashboard for monitoring service status, CPU utilization, and memory consumption.
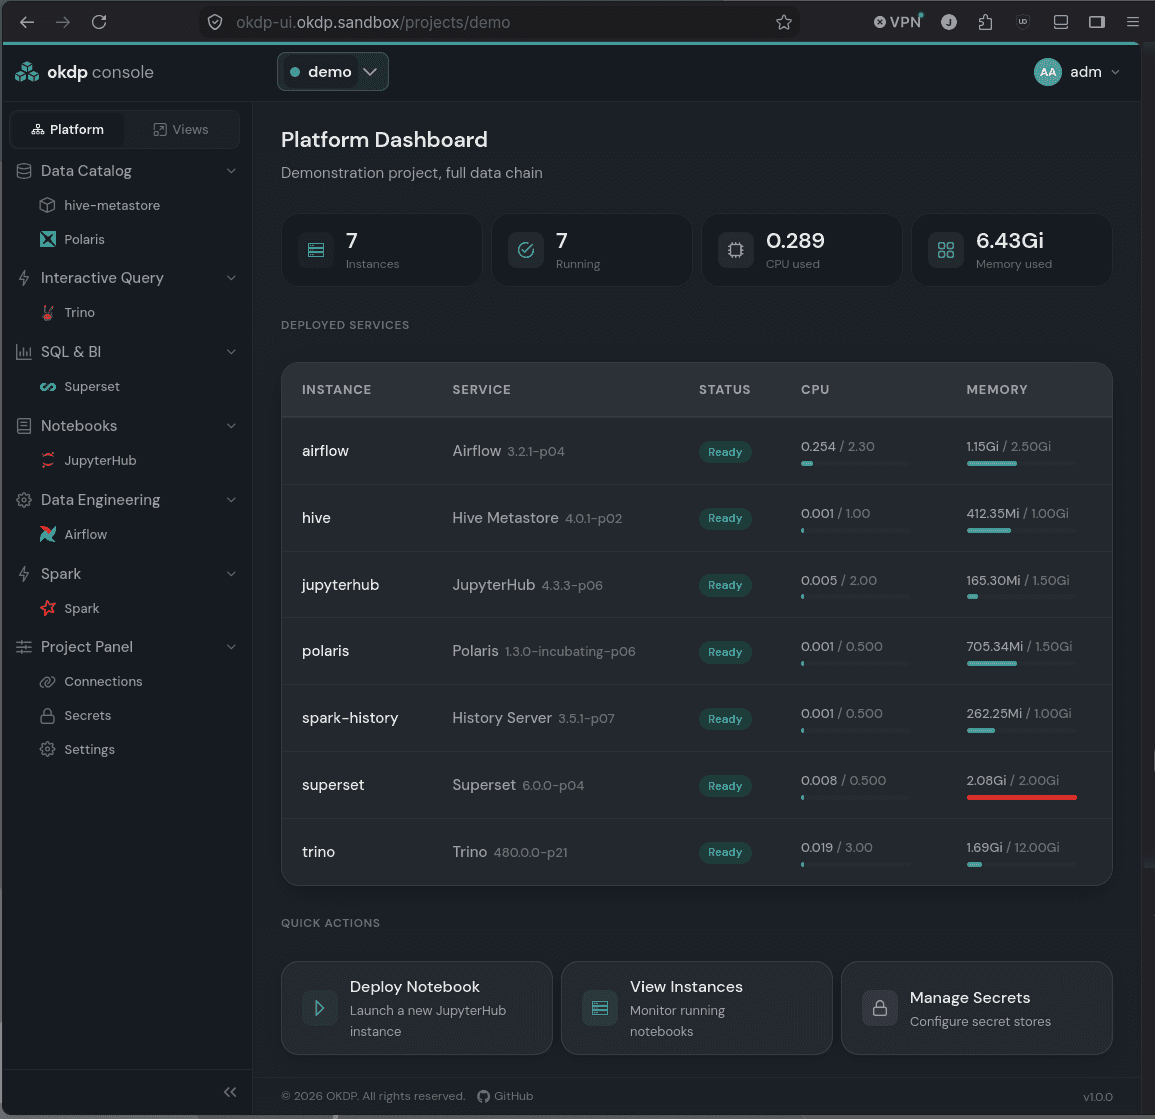
Selecting a component from the dashboard opens a detailed view of the service, providing quick links to the service’s pods and the service URL when applicable.
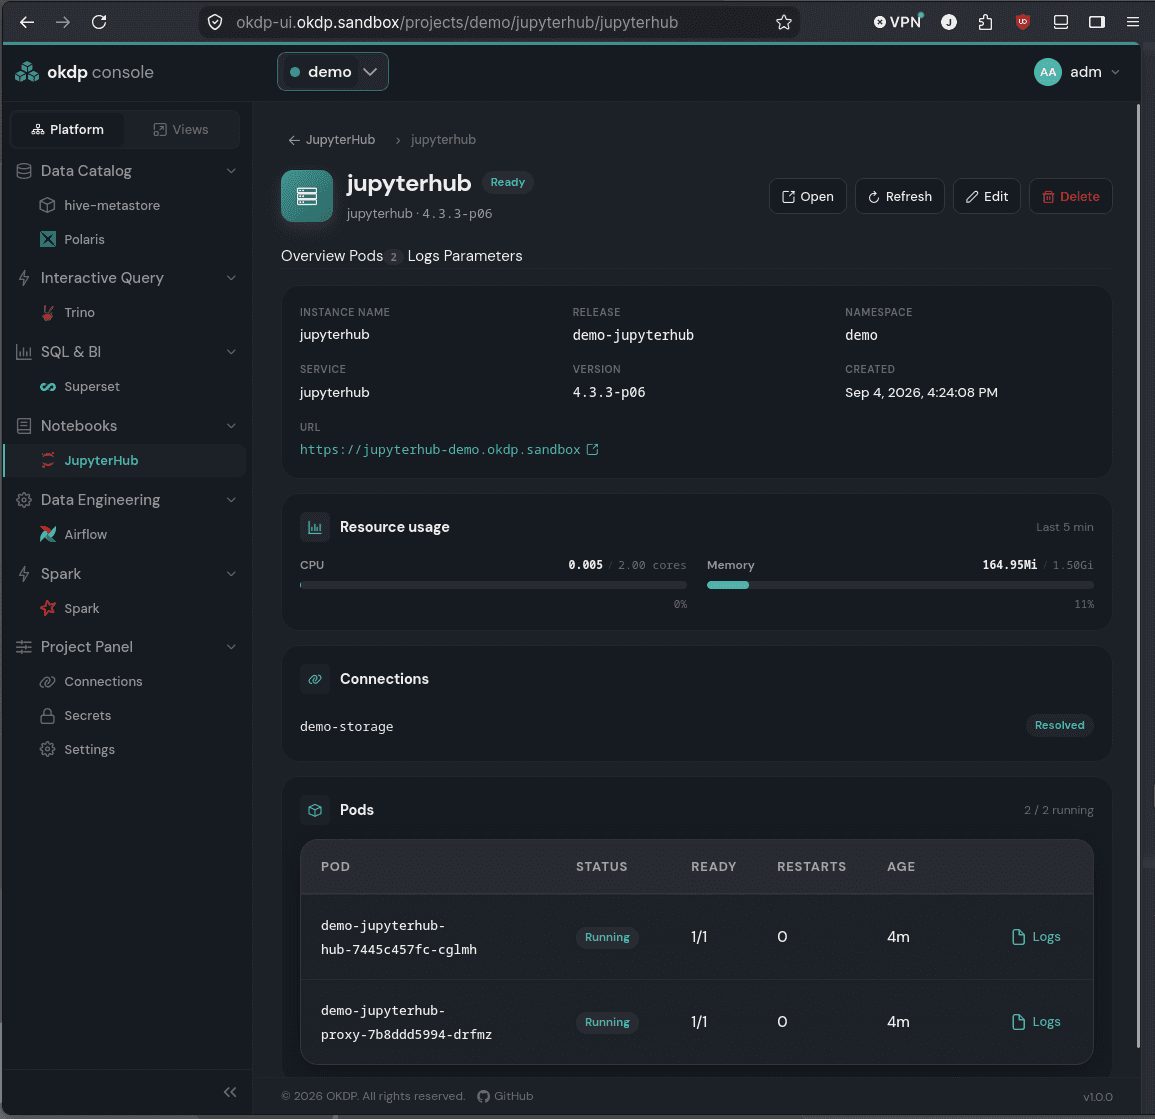
Finally, the sandbox includes an end-to-end data processing pipeline which can be explored by launching a Jupyterhub instance and using the okdp-examples notebooks to create a data lakehouse with NYC-taxi data.
Teardown
After completing the demo, stopping the Docker container for the cluster leaves the deployment intact in the case that users want to revisit the demo without repeating the install steps.
# Stop the container but leave intact for later use
docker stop okdp-sandbox-control-plane
# Restarting the cluster
# docker start okdp-sandbox-control-plane
A complete teardown can be performed in the case that the exploration of OKDP has been completed.
# delete the cluster
kind delete cluster --name okdp-sandbox
# Remove the okdp-sandbox.conf from systemd-resolved and restart
rm /etc/systemd/resolved.conf.d/okdp-sandbox.conf
sudo systemctl restart systemd-resolved
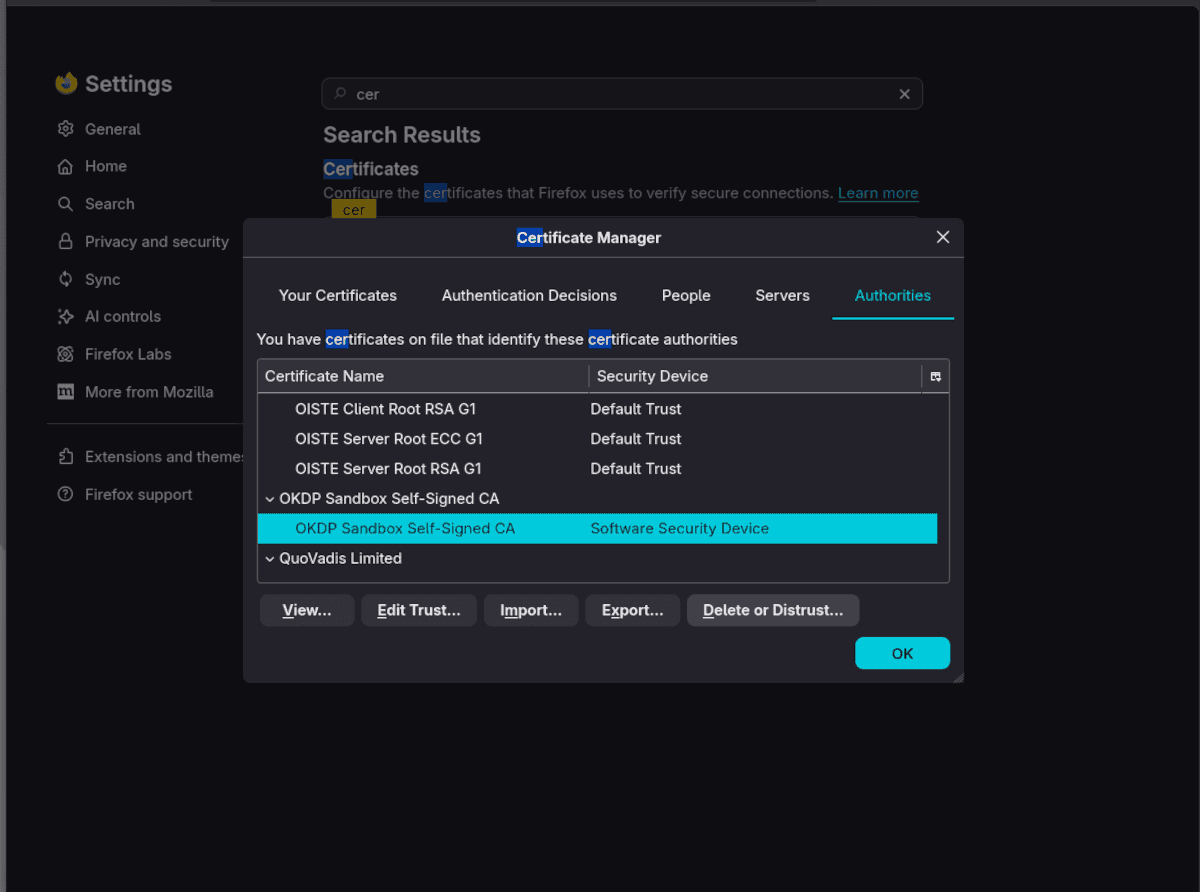
Finally, the CA cert is removed from Firefox if it was added by navigating back to about:preferences, searching for certificates and the manage certificates option. Once the dialog box has opened, click on the Certificate Name field and type OKDP. This will help quickly navigate to the CA. Highlight the CA and choose the Delete or Distrust option to remove the cert from the browser.
Conclusion
In this guide, users stood up a fully functional local data platform with OKDP, covering cluster bootstrapping, DNS and SSL configuration, component deployment, and a first look at the sandbox UI. The 1.0 release is slated for September 14th 2026. TOSIT actively welcomes community contributions and engagement. If you find the project interesting, please reach out and join us in the weekly meeting.
